
I'm particularly pleased with the new front page and page image titles for this site. These pages attempt to show how the vignettes and graduated fills were produced using Picture Publisher 8 from Micrografx.
Vignettes - 1
1) Open the image that you want to vignette
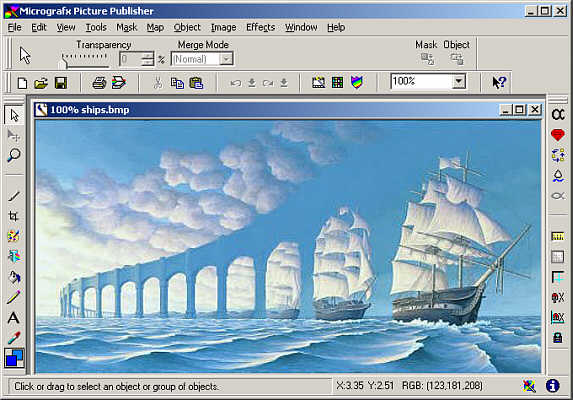
The original image
2) Resize the image
This is done from the Image > Size... menu, or you can use Shift + Ctrl + Y
In this instance the images were resized to 100dpi, 150 pixels (1.5 inches) high. I wasn't too worried about the width but it was important the images have the same height so that they lined up horizontally properly. Smartsizing was left on to help with the image quality.
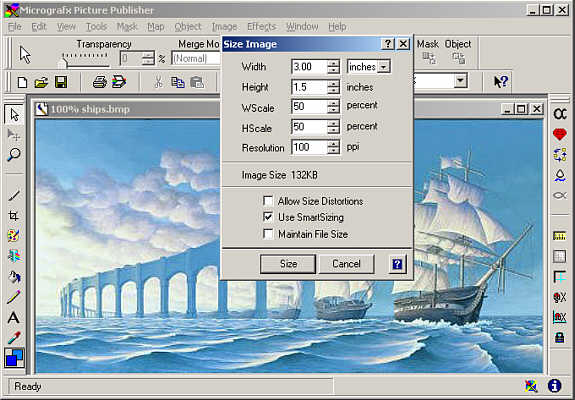
Resizing the image
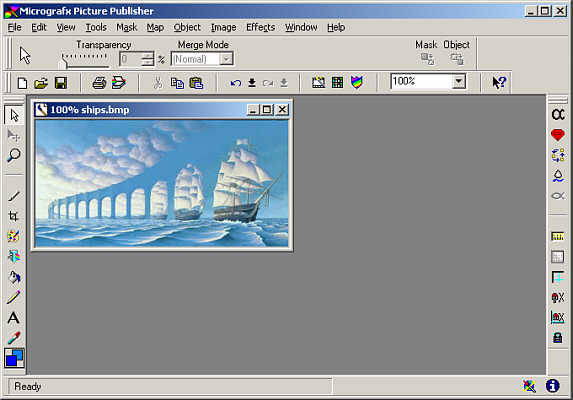
The resized image
3) Sharpen the image
This is done from the Effects > Effects Browser... menu, or you can use Ctrl + E. Scroll down to the Photographic effects and click on Sharpen. I used the default value of 5.
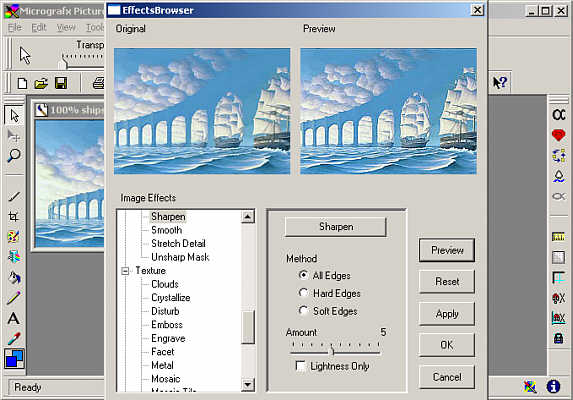
Sharpening the image
4) Selecting the mask
From the Tools toolbar click on the knife icon to open the mask ribbon. Click on the "rectangular and elliptical" mask icon, the first icon in the ribbon, and make sure the round shape is chosen from the shape menu that appears in the toolbar.
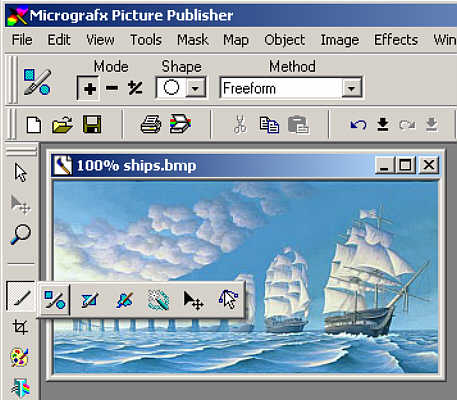
Selecting the mask
5) Creating the mask
Simply drag the cursor from corner of the image to the diagonally opposite one. The mask is now created, and shows as a dotted line on the image.
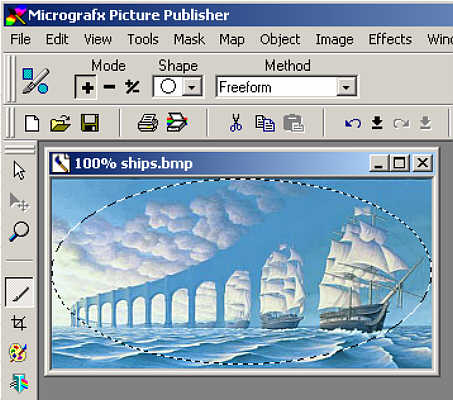
Creating the mask
This page created 19th June 2005, last modified 3rd July 2005
