
Vignettes - 2
6) Editing the mask
For this several items from the Mask menu are used
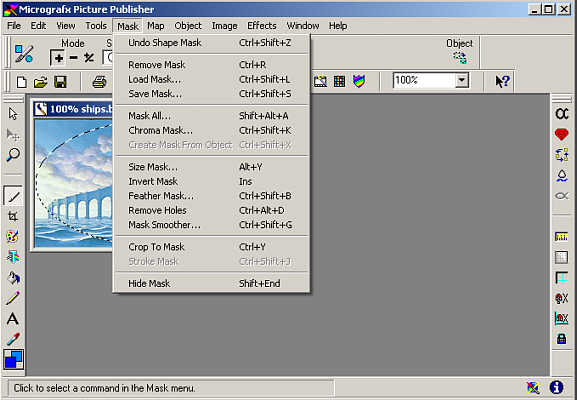
The Mask menu
From the Mask menu choose Feather Mask or use Ctrl + Shift + B. From the dialog that appears a 40 pixel feather to the mask. Hard and Inside options are also chosen from this menu.
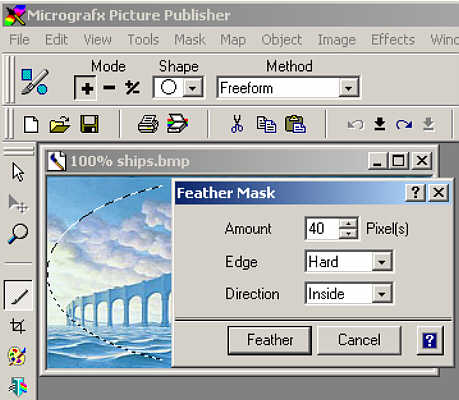
Feathering the mask
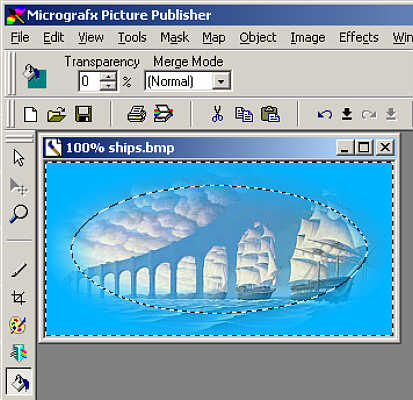
The mask now needs to be inverted so that the mask applies to the outside of the image instead of the middle. This is done by choosing Invert Mask from the Mask menu or pressing Ins.
7) Choosing the fill colour
The basic colour palette can be opened from the icon on the toolbar, the View > Color Palette menu or by pressing F7.
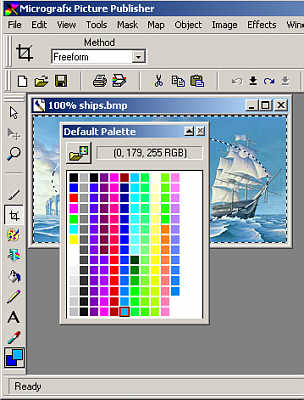
The basic colour palette
The more advanced colour picker can be opened by double clicking on a particular colour in the colour palette or by double clicking the current colour on the bottom right of the screen shot above.
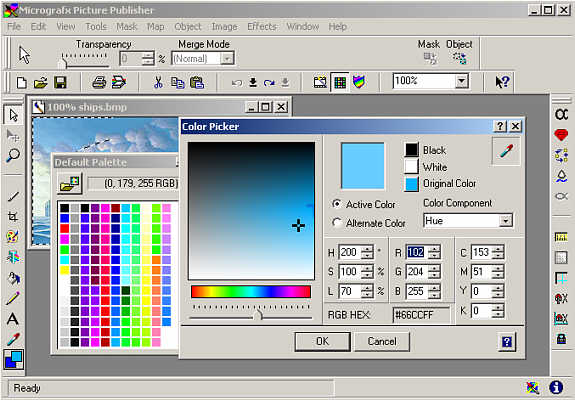
The colour picker
8) Creating the vignette
Once the fill colour has been chosen the vignette can be created by flooding the image with the chosen colour through the mask. To do this open the Fill ribbon from the Tools toolbar. The "fill with active colour" icon is needed, this is the third from the left on the ribbon.
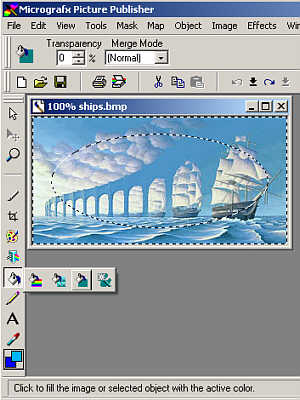
The Fill tool
Click anywhere on the image and the chosen colour is applied to the image through the mask.
Filling the image
9) Finishing off
The mask can now be removed using Remove Mask from the Mask menu or by pressing Ctrl + R. The image is now ready to be saved as a jpg ready for use on the site.
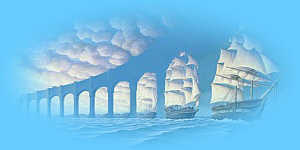
The finished vignette
This page created 19th June 2005, last modified 3rd July 2005
