Introduction

Honeywell HHF540 Fan Heater
We have a nice little Honeywell HHF540 Fan Heater. It has two speeds and can either provide nice cool air circulation or provide a good amount of heat. It has worked well for years then sometimes the fan would not turn when turned on.
This page looks at how I took it apart, cleaned it and put it back together.
Cleaning
For a while just blowing the dirt out with our Shop Vac worked well, then one day that no longer worked so I decided to take it apart to see what I could do.
The screws holding the faceplate on are deeply recessed and all the advice I've seen has said a standard Phillips screwdriver is all that is required to remove them. Not on our model!
Putting the fan face down on a table and looking at the base I could see why. The base cover is held on by Torx security or anti-tamper screws. Using a handy set of hardened steel long screwdriver bits, it turned out these are Torx T10 size.
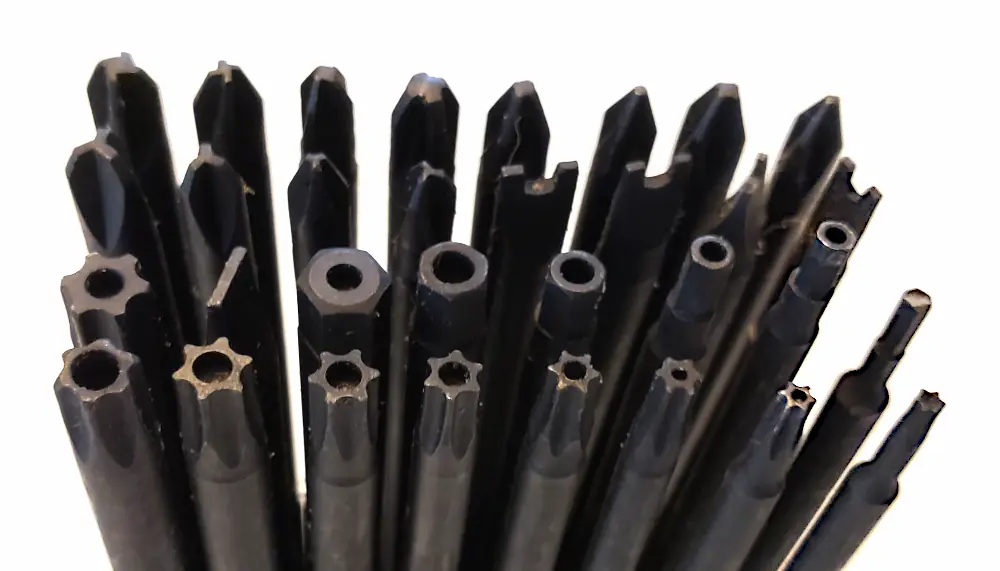
Screwdriver bit set
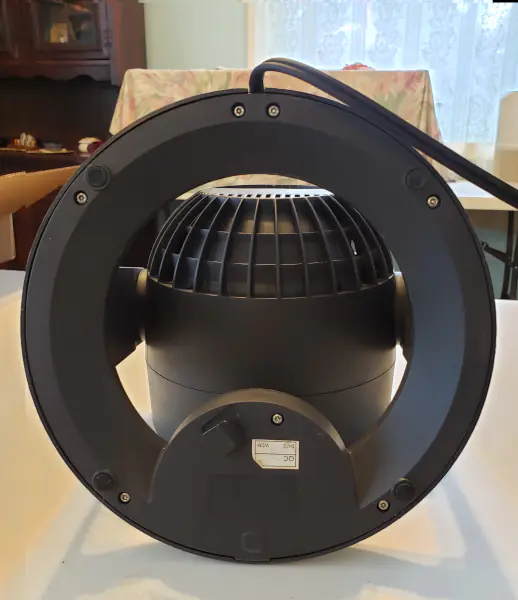
Honeywell HHF540 Fan Heater base
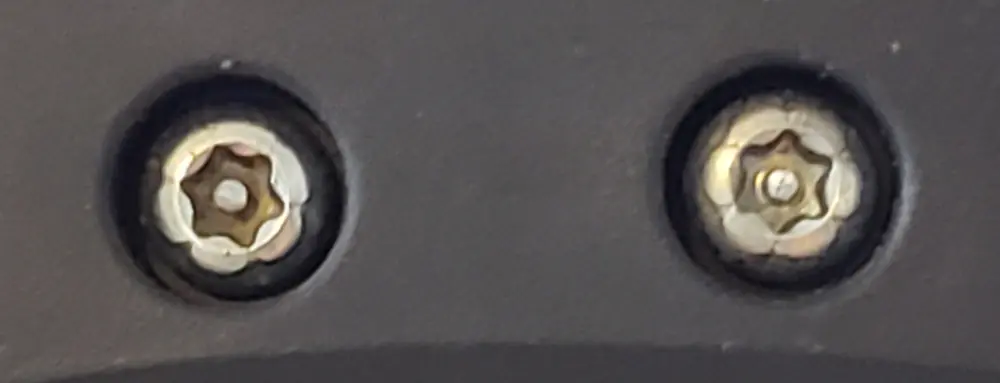
Honeywell HHF540 Fan Heater base Torx T10 screws
Torx anti-tamper screws are sightly different that a normal Torx in that they have a raised pimple in the center which requires a hollow tipped Torx screwdriver to use.
Turning the fan over so it was reasting on its face, I located all 5 screw holes and unscrewed all five T10 1/2" screws. They are only hand tight. The front of the fan can then be simply pulled off.
I used a pair of needle-nosed or long-nosed pliars to pull the hair and collected junk from around the shaft of the fan. Then I wiped the interior of hte housing down with a cloth dampened in warm, soapy water. The final thing was adding one or two drops of oil at the base of the fan where it goes into the motor.
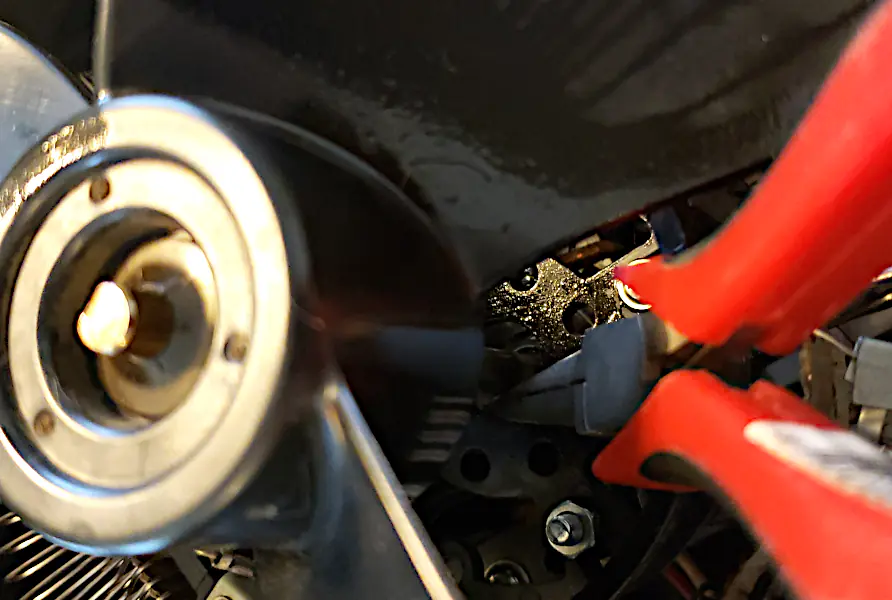
Cleaning the Honeywell HHF540 Fan Heater fan shaft
All that was left to do was line up the front cover, push it back and screw it on, remembering the screws were only hand tight to start with.